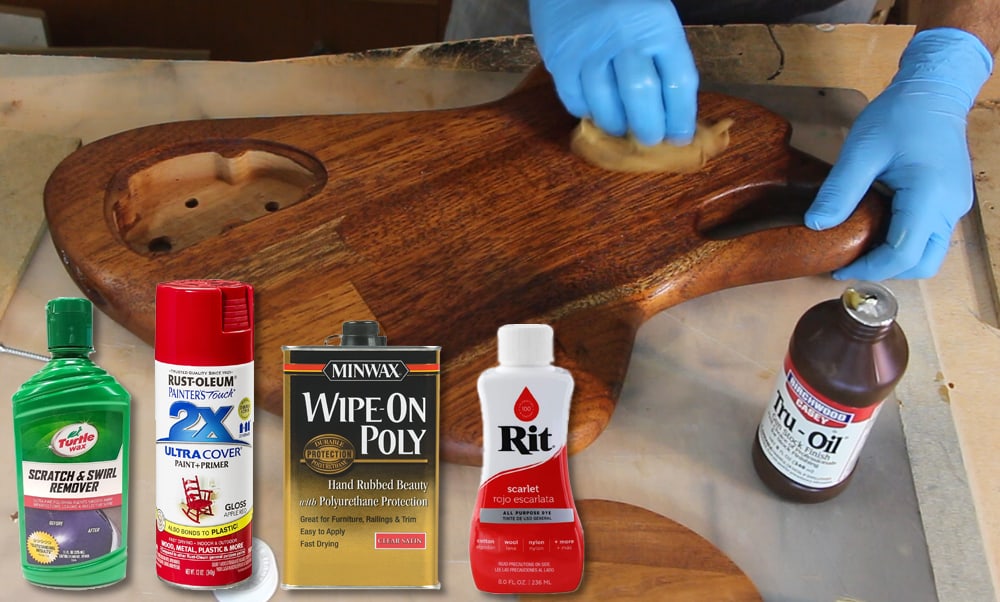
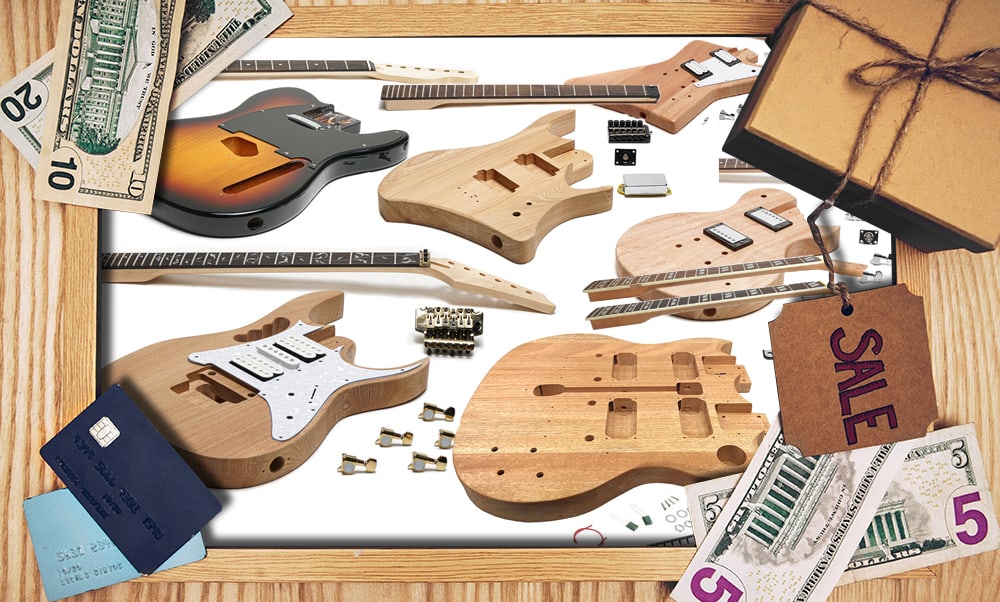
When it comes to finishing there are dozens of different methods and products. To make it easier on you I have selected items from each category, which I have had a good experience or knowledge that will get the job done through other people’s experience. As always, I try and use products and materials which will cater to the less professional and budget-conscious guitar builder. I will keep testing and experimenting with more products so that my recommendations will rely on my own bias opinion.
Sanding
After all the rough shaping we start getting into many levels of sanding. From the rougher grits to practically polishing.
Building a guitar, or even a guitar kit will need a wide range of sand paper. To make the beloved sanding process more efficient, I like to get these sets of sandpaper, which will not give a large quantity per grit, but will give the whole range, so you don’t start skipping grits and end up sanding more than you really should. It is always a good idea to get all your papers from the same manufacturer, for consistency of both, grit numbering, and quality. Speaking of quality, try and avoid the really cheap ones. They will not do a good job sanding, they fall apart and scratch your guitar, and they don’t last. They end up costing just as much and you can avoid the extra work and frustration by getting the better ones.
Lower Grits
I like to do most of the rough sanding with a random orbital sander, it’s aggressive enough with lower grits but still manageable and easily controlled. With very flat areas I may use it up to 320 grit paper, but since these medium-high grits don’t need a lot of time to get sanded, and more time is usually spent on the sides and curves, I don’t feel it gives much of an advantage. So, I would get a set of low to medium grit disks to match your orbital/ palm sander
Medium -High Grits
For these I would get flat sheets or a role. The higher grits are also often used with water, for wet sanding, so you might as well get a set that is appropriate for that. This will be in the 400-1000 grit area. I like the ones that have the cloth back, the are comfortable to hold or wrap on an shape block, the don’t loose their integrity when wet and will usually outlast paper by far.
High and extremely high grits
This is where I have really become to like the pads. They are comfortable to hold and give good feedback. You really don’t strain them too much so it’s really worthwhile getting a good set. Even if opting for paper, at above 1000 grit, I like to wrap on a padded block or something rubbery. A simple rubber eraser is a good choice for tight and rounded areas.
I have recently come across a set of rubber sanding blocks which are great for pretty much any curve you can find on a guitar and are very versatile.
Grain Fillers
Often neglected by hobbyist guitar builders and guitar kit builders, is the preparation of the wood to receive and maintain the stain, color, and coat. There is a tendency to try and smooth the surface by sanding it to death while ignoring the grain in open-pore woods such as the popular mahogany. Using a grain filler will simply make smoothing the guitar much more effective, not to mention the added advantage of highlighting the grain for better contrast or even with color for creative effect. They can in various wood colors and can be tinted. They come in various viscosities will usually be applied to the whole surface and completely sanded off to leave the filler only in the pores themselves. Filler is not needed if you are going for a more natural look with the exposed grain and an oil finish but will do wonders for smooth glossy finishes.
Wood Sealers
Sealers are often misused as fillers, and also used as a clear coat. More and more guitar kits come with a layer of sealer to protect them from humidity and stains in storage and transit. The purpose of the sealer is to create a stable coat to protect the wood and its stain, dye, or color. It is very easily sanded and provides a great base for either a flat color or clear coat. It can provide some of the functions of a filler in medium to low-sized grain pores woods, but may not be enough.
Oils
Oils are a simple and elegant way to highlight the natural beauty of the wood and still leaving it somewhat raw. Unlike other finishes, oil finish is primarily a penetrating finish. Oils can however be layered to give a film cover which can be polished to a subtle sheen. An oil finish will protect the guitar from humidity stains and general dirt, but will not provide the hard-shell protection of multiple clear coats. Oils are favorites for neck finishes, especially if you don’t like the feel of a lacquered or glossy neck.
Boiled linseed oil
The cheapest and simplest of the oils. Originally natural, most will have additives for faster drying and easier application. This one will give the least amount of protection and tend not to build up like other oils. It does tend to slightly darken the wood and will not to be re-applied after a while .I would not use it for a guitar. It’s not bad, it’s just not really good.
Tang oil. A natural and relatively neutral oil, as far as darkening. It has good penetration but will dry over time and require re-application. Many of todays oils are not pure and have additives to give it better durability and easier application and may be far from the natural pure oil.
True oil is actually gunstock oil which became popular with guitar builders. It is neutral in color and has the advantage of curing harder than other oils and therefore allowing for a better build-up of layers as well as achieving a nice shine when buffed. My personal favorite oil
Teak oil is a good fit for heavier woods such as Teak or Mahogany. It does bring out a bit more of the amber character of the wood. It is a bit thicker and you may want to give it a bit longer to soak. Like most other oils it will come with different additives under different brands
Danish oil
Very common with furniture carpentry, danish oil is actually a mix of oil and polyurethane, so it will both penetrate, but will also harden and give an extra layer of protection most oils lack. They usually come slightly tinted to a few wood tones. The application is similar to other oils, but you can brush it on as well. It can be polished and buffed to a higher shine than other oils.
Stains and Dyes
Stain and dyes can be water-based, oil-based, or use other solvents. Some of the more versatile ones come as a concentrated liquid or powder. There are more guitar-specific ones that will always come at a premium price, but really coloring wood is fairly simple. Whenever working with stains and dies, there is a lot of experimentation as every type of wood will behave differently and will receive the tint or dye in a specific way. Generally speaking, water-based dies are a bit more forgiving in the application as they have a longer setting time and will allow for more, diluting, mixing, and rubbing. Oil and spirit-based stains will tend to better penetrate and give slightly deeper and darker colors.
Aerosol/ Spray can Colors
The easiest choice for many people, and not a bad one. The quality of the colors is fine, and after you get your technique down, you can have professional results, just like a spray gun. The main limitation here is the variety of colors. On the other hands, there are very nice textures, glitters, and effects, straight out of the can.
Clear coats
Clear cots are some of the more challenging and critical parts of making your guitar get that show-room look. There are plenty of products allowing you to get there with a variety of application. Easiest for most of us are the canned:
You can get the 2X Rust-o-Lium ( or equivalent makes)at any hardware store. These are Polyurethane based and are very versatile. They come in matt and gloss and can be layered to eventually be polished and buffed for a glossy look.
Catalyzed spray cans will give a somewhat harder coat and will dry faster due to the catalyzer. This will can also be layered and will give a better result right out of the can.
Some of them like the SprayMax 2K Glamour need to be activated. Once activated they start curing so your work time will be limited to a few hours, so you can finish one or two layers before it goes. The only other downside here is the premium price
Polyurethane
This is the default material for many people. It will easily give a clear coat of either matt, satin, or glossy look. As the name suggests it is basically a resin cover that is diluted for easy application.
Most polyurethane products are oil-based and will need cleaning or diluting with mineral spirits, thinners, or naphtha. These products can be layered to build a thick layer of which can be sanded polished and buffed, and this is the reason they are popular as a guitar finish. Polyurethane will not give the hard shell you may get from lacquer, but give much more significant protection than oil, and if hit or scratched will not crack, but absorb the damage. Polyurethane will dry to the touch within a few hours but will take days or weeks to fully cure.
There is a Brush on version, but for a guitar finish it is probably the least user friendly. If you do not have means of spraying it you will probably want the
Wipe on Poly
This product is perfect for anyone who doesn’t have a spray gun. It’s the same material but diluted for a more uniform distribution. It’s easy to wipe on without leaving any brush marks, and build up layers. Comes as a Water-base as well
Lacquer
Lacquer is a solvent-based material that can also be built up to a thick coat for polishing purposes. The key difference from polyurethane is that Lacquer will dissolve and become one with the previous layer even if it is totally dry. There are a few types of Lacquer, but the principle and application is more or less the same.
Polishing
After all the layers of whatever clear coat, you were using are dried and, smoothed, and sanded to anything between 1500 to 5000 grit paper, it’s time for polishing and buffing, the simplest way to achieve that is with a polishing compound. Most polish compounds will come as a set of two or three levels of abrasiveness, starting with the roughest and leading to the finest which will give the final mirror-like shine. The easiest and most effective polishing compounds to get your hands-on come from the automotive industry. Turtle Wax, (Stay away from the actual wax are known to have a good line of products. If you have sanded to a high enough grit you can skip the ‘Heavy Duty Cleaner’ Rubbing Compound, and skip to the ‘Light to Medium Cleaner’. The ‘Scratch & Swirl Remover’ will give that final shine. Stay away from the actual wax, this is not a car.
Meguiar’s have a similar line of products with an abrasiveness meter so you can select one two or three compounds to fine-tune your polish.
To improve the speed and efficiency of polishing you can use a set of pads to mount on a drill or an orbital palm sander. The come is several colors and roughness levels to match the compounds. Stay consistent with the pads and compounds as to not ‘cross -contaminate’ levels of abrasives.
Polishing can of course be done manually powered by ‘Elbow Grease’. You can use a clean lint less rag, microfiber cloth or get these designated padded applicators