A large part of guitar building involves woodworking and carpentry skills. Among these using glues to connect guitar parts is a major part of the overall build. Unlike your basic carpentry , where most of the connection are just wood to wood, you will often need to glue, different types of woods, you may find yourself working with types of plastic, acrylic materials, bone, graphite and different types of metal.
What glue do luthiers use?
There are four types of glues commonly used by Luthiers:
- Hide Glue- Animal Based Glue
- Carpenters Glue – PVA Glue
- CA glue – Cyano-Acrilate (Superglue)
- Epoxy glue – Two part glue
Let’s take a look at each of these types to better understand which ones are designed for which task and all the ways we may want to use them. We’ll go through the pros and cons as well as examples and tips for specific glues
Carpenters Glue – PolyVinyl Acetate
This yello-ish water based is one of the most commonly used by Luthiers and carpenters around the world. It comes as many different brands and names, although Tightbond has pretty much become an industry standard.
PVA benefits
- Ready to use. Comes in comfortable liquid form
- Water soluble. Can easily be diluted and cleaned
- Long working time
- Excellent bonding strength for wood
- Non -Toxic
PVA Downsides
- Requires proper surface preparation
Variation/ Alternatives PVA
- There are many brands and variations to the ‘yellow glue’. Most of them will bond with enough strength for lutherie purposes.
- Tightbond have variation for slower drying or more water resisting glues. The ‘Original’ will be excellent just as well.
- White glue- Most common white glues will bond almost as well as the yellow counterpart. Not preferable for joints that are under tension.
Hide Glue
Traditional Luthiers have been using animal-based glues for ages, and they are still around. They are made from gelatin produced from animal (and fish for types of glue) source. It is not as commonly used today as it used to be but many Luthiers still swear by it. It is especially worth getting acquainted with if you are also thinking of working with vintage guitars or repairs.
The benefits of hide glue
- Strong bonding- Probably the number one feature you look for in glue. When it comes to wood to wood adhesion, hide glue provides excellent bonding
- Hide Glue can be re-heated and reactivated. This is especially handy for repairs of vintage guitars. You just need to re-heat the area and add a bit more. No clean-up or scraping necessary. The new Hide Glue glue will stick to the old Hide Glue. The ability to remove an old fretboard (for example) with minimal chipping can be priceless.
- Long storage life. Since Hide Glue comes in a flaky dry form, it can be stored for a long time. Even the already diluted hide glue can be frozen to be re-heated and used again.
- Requires little to no clamping. One of the properties of this glue is that properly prepared surfaces will actually be drawn together and held while the glue is cooling and drying
- No tendency to ‘creep’. The tendency of other glues to have the glued parts start ‘sliding’ when put under pressure. Hide Glue doesn’t.
- Easy cleanup. Any residue or squeeze out can easily be scraped and removed when partially dry.
- Non toxic
The downsides of Hide Glue
- Needs to be mixed with water and heated to be applied. This is the probably the number one deterrent for DIY Luthiers. It’s just extra time and equipment.
- Requires a designated heating pot (can be put in hot water ).
- Needs to be applied hot and has short working time, just until it cools
The strength of Hide Glue is determined by the ‘Gram Strength’. The 192 Gram Strength is commonly used for most Lutherie tasks. Stronger 315 Gram Strength granules, will give better adhesion but with shorter working time.
Fish Glue – Also An animal-based glue, with many of the same properties, but comes in a ready to use form. Longer working time, but longer drying time as well.
Tightbond – Genuine Hide Glue. Also has most of the same features as regular hide glue, but comes in an easy to use liquid form.
CA Glue – Super Glue
The quick drying, bond anything properties of these glues have earned these relatively newer glues a place in every luthier’s toolbox. Probably overused, they can be a quick fix for an array of functions.
There is a wide array of brands and viscosities of Cyano-Acrilate glues, which all behave is similar manners. The thinner ones can be used when wanting the glue to penetrate cracks and the heavy viscosity and gels for more specific work. Brands include Loctite, Krazy Glue, SuperGlue, Elmers, Gorilla and many more if you go international.
CA Glue Benefits
Fast Drying. Will dry almost immediately with the addition of activator spray and within a minute or two without it.
- Bonds almost any material. Very handy even when it’s not wood to wood.
- Penetrating. The thinner viscosities can sip into tiny cracks and connections.
- Dries rock solid
CA Glue deficiencies
- Toxic smell. Make sure you work in a ventilated area and try not to smell the fumes.
- Will glue (and irritate) your skin. It’s always good to have some acetone around, but just try and not get it on your skin.
Epoxy
More of a ‘special circumstances’ type of glue although it can be used for almost anything on a guitar. Epoxys are used by combining specific amounts of resin and hardener. Different brands and applications will have different ratios. Depending on the type of Epoxy, this two-part glue is known for strong bonding and good filling capacity.
Types of epoxy are also used for filling or casting larger parts of the guitar body such as ‘river’ style bodies. Also useful when working with woods of high oil content.
Epoxy Benefits
- Good filling capabilities
- Strong adhesion
- Self curing
Epoxy downsides
- Short work time
- Unforgiving. It cannot be diluted and is hard to clean.
- Using the wrong resin/ hardener ratio may result in too fast drying, or no curing.
Other mentionable glues:
Polyurethane Glue
This, relatively new glue, is gaining more and more popularity due to it’s impressive adhesive capabilities and gap filling properties as it foams and expands when drying.
It’s only downsides are that it is messy and relatively pricy.
This, relatively new glue, is gaining more and more popularity due to it’s impressive adhesive capabilities and gap filling properties as it foams and expands when drying. It’s only downsides are that it is messy and relatively pricy.
Vinyl Adhesive or Plastic Cement
Another excellent choice specifically for gluing plastic to wood. . It is supposed to glue practically anything. It does have longer drying time It does have longer drying time
General Lutherie glue application
There is often not just one type of glue for a certain application. Luthiers have developed their own methods and preferences for performing certain tasks. Some prefer the speed and relative ease of CA glue and some the filling properties of Epoxies. Others would stick to traditional hide glue for everything possible.
A large percentage of glue failures have more to do with the preparation and application than the glue itself. Dusty, oily, too rough, too smooth or bad contact between the surfaces are what may be the actual cause. So, make sure you give your glue optimal conditions to stick.
Gluing the body parts
Solid body guitars are typically made of two halves which are glued together and often have a ‘top’, which are two more, thinner pieces, glued on top of the first two. Most Luthiers, major companies included, will use yellow PVA, carpenter’s glue. It glues fairy fast and has more strength than necessary for such bonding. Since this is also where you will use relatively larger amounts of glue, the low price also works in it’s favor. All you need to do is make sure the glued parts are smooth and clean with good surface contact, lathe both sides with a thin but generous layer of glue and clamp it for 3-4 hours or overnight if you want full cure. Cleaning the squeeze can be done with a wet rag, when it’s wet or by scraping it after it’s dry. More traditional Luthiers would stick to hide glue which, aside from the more elaborate gluing procedure, will do a fine job as well.
Some Luthiers would prefer to use Epoxy or Polyurethane Glue for an even stronger bond. In most cases, it would be considered ‘overkill’.
Gluing the fretboard and the neck to the body.
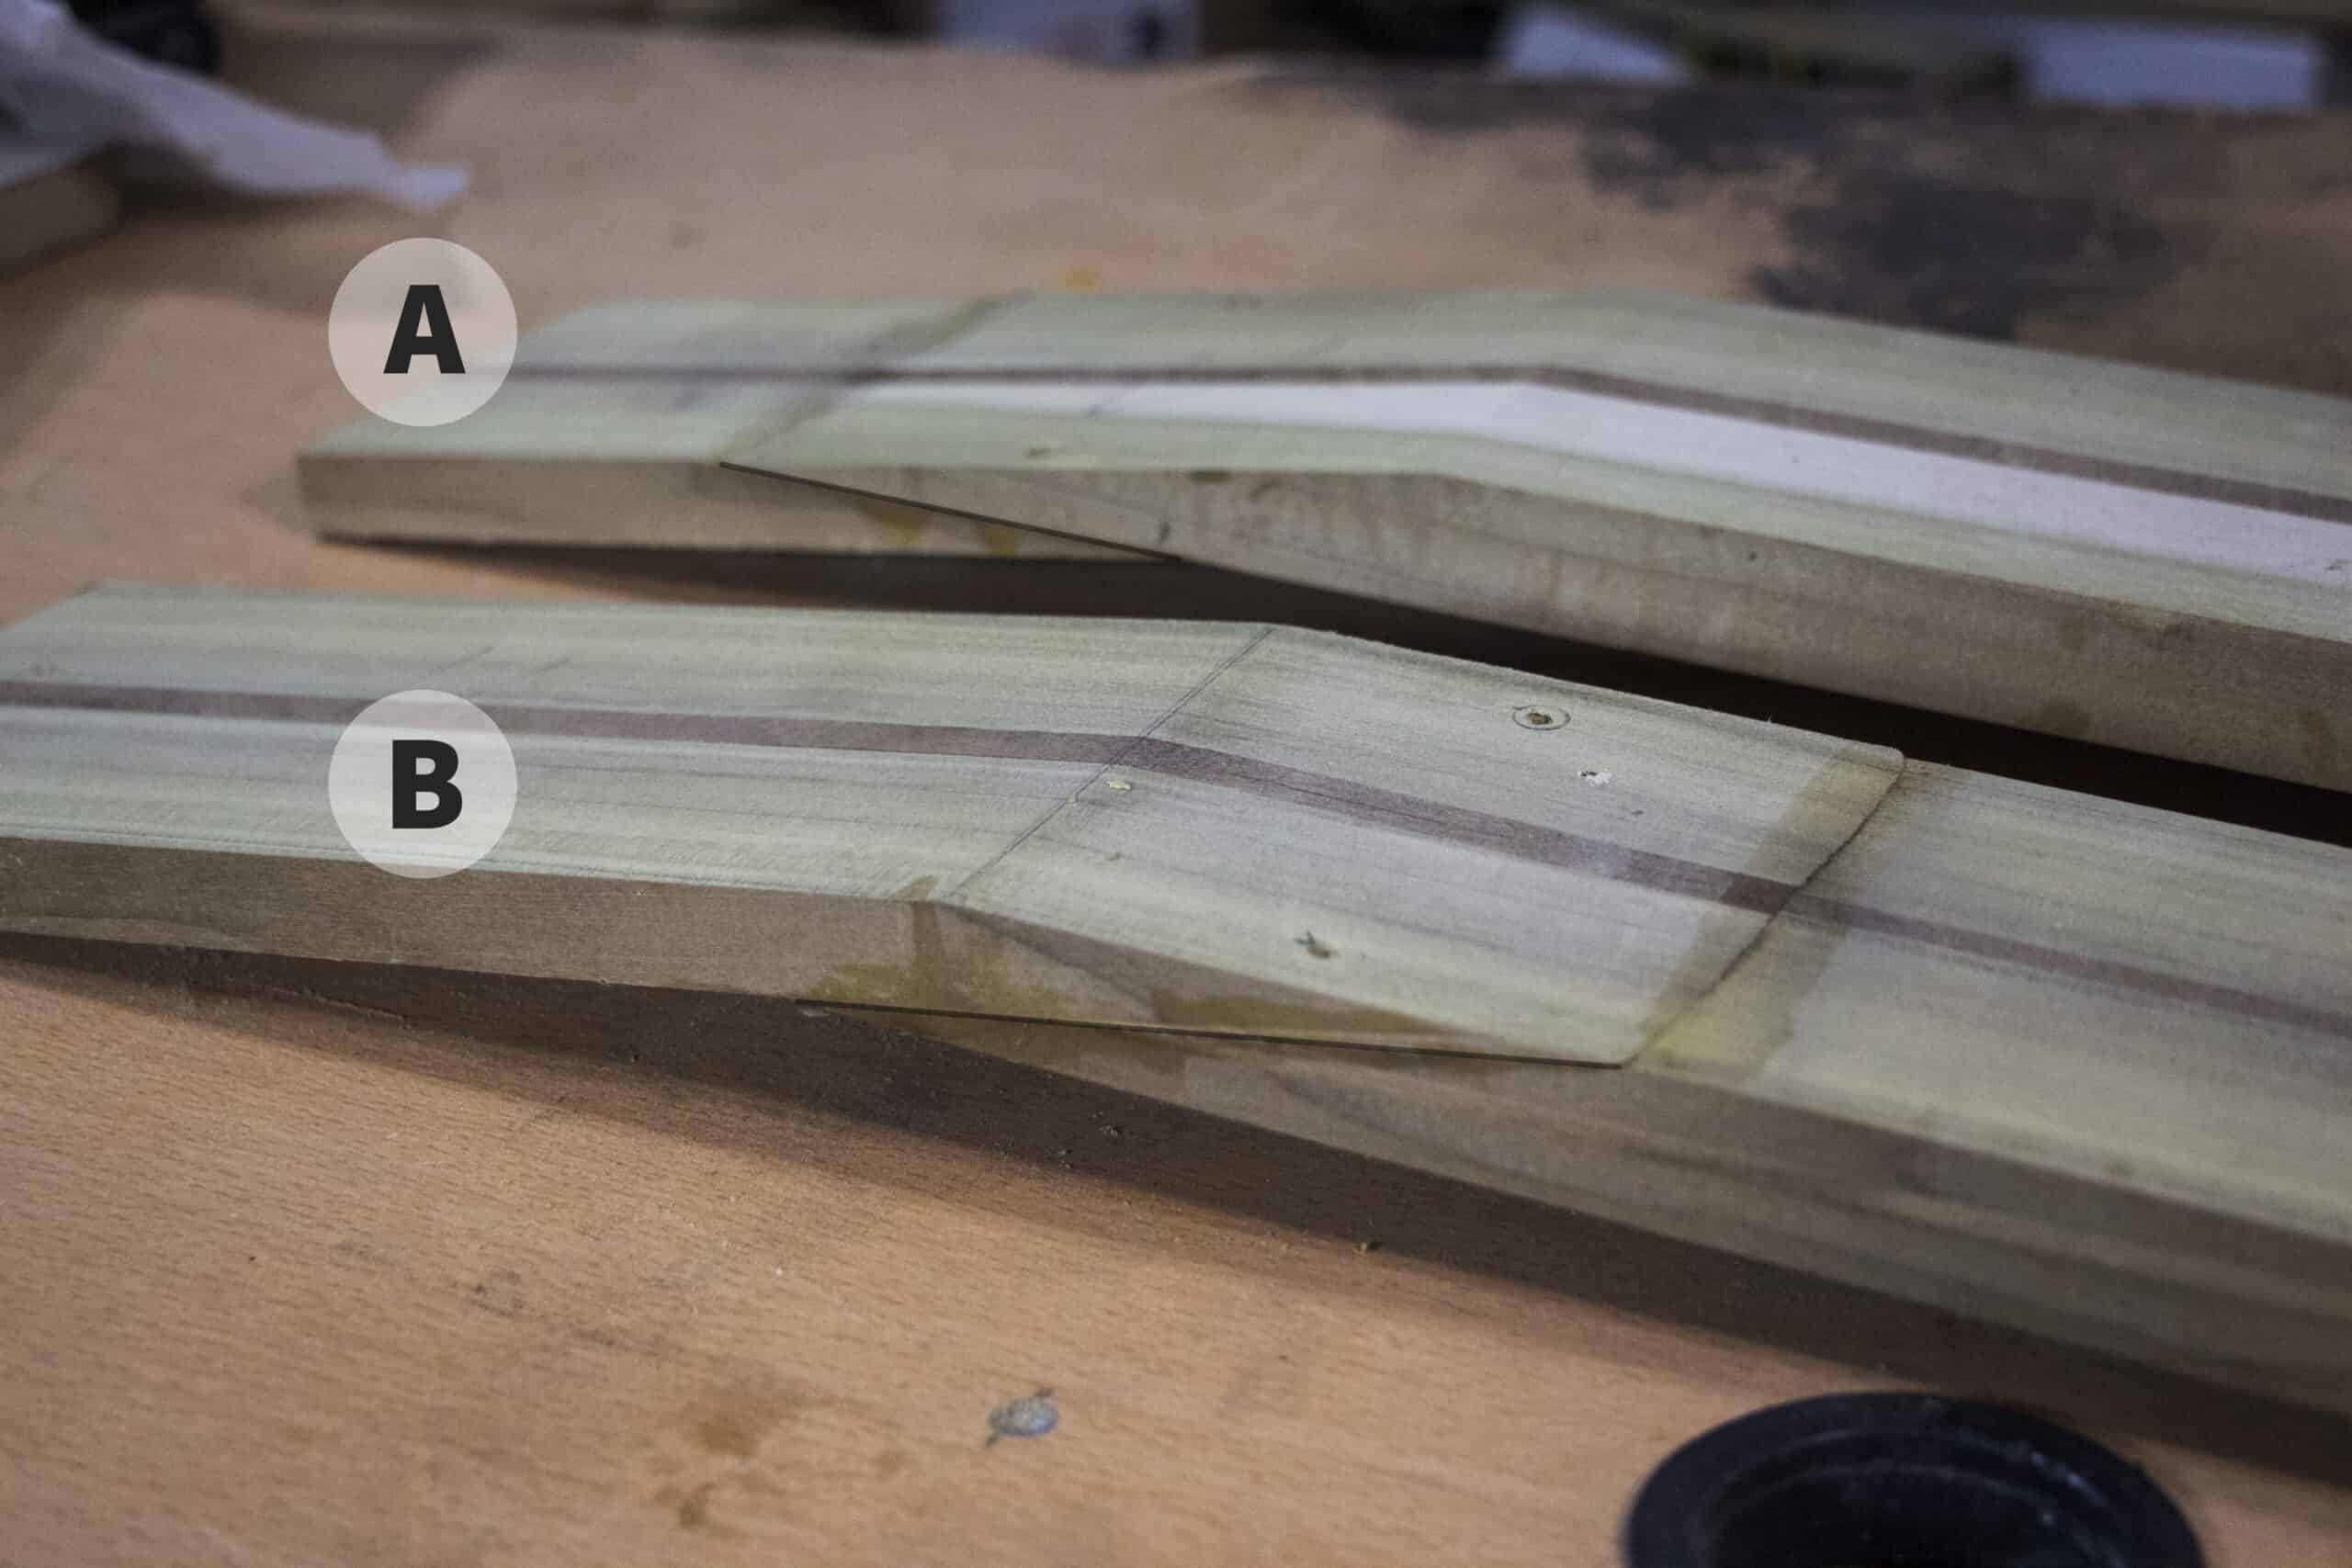
Similar to the body, yellow carpenters’ glue is more than adequate for gluing both the fretboard to the neck and the neck to the body (if its not bolted on). Again, hide glue will work just as well. Since the neck and fretboard are more demanding than the body, and also use smaller amounts of glue, there seem to be more Luthiers who will go the extra mile here and use a stronger adhesive such as Epoxy or Polyurethane Glue.
Should I glue the nut on my guitar?
A tight-fitting nut does not necessarily need glue to hold it in place. However, when working on it and to avoid any movement most builders would put a dab of either CA glue or regular yellow glue just to hold it in place. Anything beyond that is really not necessary and would just make it more difficult to remove, if and when it comes to it.
How do you glue the frets to the fretboard?
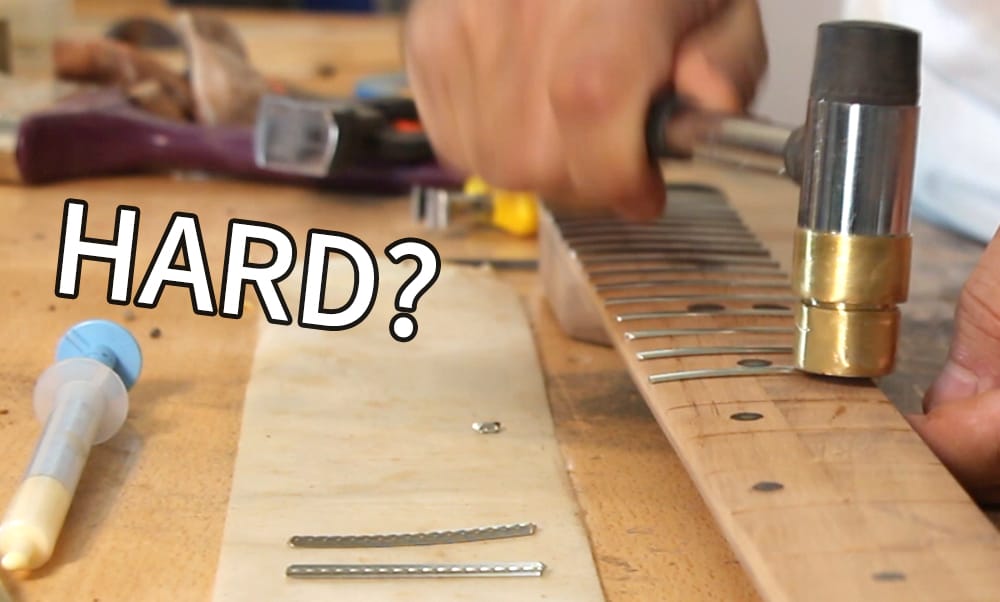
Frets are not held in place by glue. The fret tangs have little barbs which protrude the fretboard on either side and resist motion. Glue is added to the process for two reasons. One is to fill any gaps between the fret, the tang and the fretboard, to maintain the integrity of the fretboard and give a bit more resistance to warp. The second is to (arguably) give the frets better sustain/tone by filling the gaps.
Here there are two methods and two types of glue commonly used. The first method is to simply fill the fret slot with glue and install the fret. The squeeze coming out of the sides will be a sure sign that the gaps are filled. Some prefer to use carpenters glue for this procedure and many will use thin CA glue. I will personally prefer yellow glue whenever possible because of the ease when cleaning and it’s more forgiving nature in case of mistakes. If you never make mistakes, ignore this comment.
The second method is only done using thin viscosity CA glue. It is done after the fret installation and involves dripping glue to the sides of each fret to let it wick and penetrate the sides of the fret tang. This will not work with a binded neck.
Cracks and Fills
There are three common ways to fill cracks and small repairs on a guitar.
Carpenters Glue and sawdust. Mix these two, preferably with the sawdust from the same wood you are repairing, to create a very thick paste. This will fill the whole or crack and let it dry. Drying time will depend on the thickness, but when it’s dry it can be sanded and will blend well with the wood color or be slightly darker. It will not take stain well. Other shades of sawdust can be used for effect.
CA Glue and fine dust
Mixing CA glue with any fine dust or sawdust will very quickly give a rock-solid result which can be filed and sanded smooth. This can be used for small crack and chips as well.
Epoxy
Epoxy can be used to fill gaps and cracks of any size. For larger holes or fills a casting ‘fence’ may be necessary. Again, colors can be added for effect. For thin cracks this can be applied with a brush but for bigger gaps you may just want to pour it. When dry, it can be sanded and finished.
Gluing Dots or Inlays
I think by now the consensus here would lean towards CA glue. Both inlays and dots can be positioned first and then have the thin glue dripped around it letting it penetrate around and under. The quick drying CA glue will enable you to sand the fretboard right after you finish inlaying. If you use an accelerant spray, it’s almost immediate. Yellow glue will work just the same but will require a few hours to dry.
Can you repair the Nut with CA glue?
A nut that had a slot filed too deep (by mistake or due to extensive playing) can be filled by using the CA glue and dust method. There are two types of dust you can use here. Baking soda for white nuts and sanded dust from the nut itself if you want to match the color.
How do you glue the Binding on a guitar?
There a few methods of attaching plastic binding to the guitar or neck. For wood bindings you can use Hide glue or yellow glue.
Super glue – The quick method
Use medium to thick viscosity glue (to avoid staining) and slowly just go around gluing and taping. You should stain the guitar first incase of CA glue stains. They don’t take stain. Fingers are going to get glued so cover them with masking tape.
Acetone
Probably the cleanest way to attach bindings. (Not a Glue) The acetone will actually melt the binding and have it melted into the wood. Tightly attach the binding to the wood with tape and generously wick the acetone between the binding and the wood. You can also put small pieces of binding in acetone until they melt to give you a sort of filler for any gaps left.
Poly cement/ Acrylic cement
Thin method involves gluing the binding and taping it as you go along. Leave it to dry for as long as the particular cement requires.
The Masking Tape -Superglue trick
If you have ever had to struggle with removing stubborn double sided tape and are not yet familier with this, here it is. Attach masking tape to both sides you want to attach. Put CA glue and attach the making tape back to back. If you use an accelerant spray, it’s almost immediate, otherwise hold it for a bit. Not a lot of glue is necessary and make sure it’s only on the masking tape. Removal is as easy as removing masking tape.
Other related Questions
Is Gorilla Glue CA glue?
Gorilla Glue is a brand that has several types of glue, including CA glues, and I will avoid referring to the brand name for a specific type. Gorilla made Polyurethane Glue popular in North America and are sometimes synonymous with that, in fact that is what ‘Original Gorilla Glue’is, so be care full looking for ‘Gorilla Glue’.
Whats stronger Krazy Glue or Gorilla Glue?
Assuming we are referring to CA glues of both brands, it seems Gorilla has an advantage. For a thorough comparison of CA glues watch this video by ‘Project Farm’