Scalloped Fretboards have been around much longer than electric guitars and were common on several Indian stringed instruments as well as some more European instruments such as Lutes. The popularity of such fretboards has a dynamic trending graph and where some guitarists swear by them, most stick to ‘regular’ fretboards and some can’t stand them. A few notable artists have used them. Ritchie Blackmore of Deep Purple was one of the early guitarists to modify his guitar in such a way. John McLaughlin who was influenced by eastern music in many ways is also known to have played a modified Gibson ES-345. Yngwie Malmsteen’s playing style and Signature Fender Stratocaster also helped push the scalloped fretboard into mainstream. He actually got the idea directly from an old lute. (where the term ‘Lutherie’ came from)
A Scalloped Fretboard or Fingerboard is one where the material of the fingerboard between the frets is filed and removed to create a concave surface and large space beneath the strings. With light to medium pressure on the strings the player can play a clean note without ever touching the fretboard. There are claims of fast playability on the one hand and difficulties playing and staying in tune on the other. In this article we will try and understand the pros and cons of the scalloped fretboard, if it’s the right fit for you and how it can be created.
What is the point of a scalloped fretboard?
Naturally, those who choose to play a scalloped will praise it and are the testament that there are clear benefits. The main benefits are said to be smoothness of playing and the potential for high speed.
What are the benefits of scalloped frets?
- Bending strings upward is easier. There is surely less friction on the fretting finger since there is no contact with the wood.
- You will also be able to more easily ‘grab’ the string from below. You will fill this even more with low action setup.
- The lack of friction with the fretboard may also allow for faster motion along the fretboard, especially if you play with a very light touch.
- You can bend a note just by pressing harder and deeper.
- Vibratos are also easier to create and maintain with the reduced friction
What are the downsides of a scalloped fretboard?
- Pressing the string too hard will pull it sharp as there is no fretboard to press against.
- Chords, and especially bared chords may be partially out of tune because of uneven pressure from all fingers.
- The deep scallops may give a very bumpy sensation when running the hand along the high E string side of the neck.
Are scalloped frets easier to play?
The common answer to this question is either a definite No or a resounding YES.
The answer seems to depend on the way you hold your left hand and the amount of pressure you put on each string when playing. People who hold a more ‘classic’ position, with rounded fingers may not be hindered by the bumps when sliding along the neck. The same will probably also apply to those who play with a very light hand. If you only apply the minimal amount of pressure to play each note you will not press it out of tune and you will benefit from the reduced pressure.

Don’t ‘Jumbo frets’ give the same effect?
Jumbo or tall frets do have similar pros and cons, but are not as tall as the scallops are deep and provide a very different playing sensation. In most cases the fretboard will still be felt and will not enable the techniques involving pressing deeper into the note.
For many guitarists taller frets may actually give enough of the benefits with out the drawbacks
How do you play a scalloped fretboard?
There is no real difference when approaching a scalloped neck although the style of playing may lend itself to the scallops and find the experience amazing, or find it odd to the point of leaving it altogether. If you are used to pressing hard on the strings, the lack of fretboard may cause your fingers to push the string further into sharp territory much like a bend. If your ‘normal’ playing is very light on the strings, the scallops will more easily become natural to you.
Is there a standard way to scallop fretboards?
Since there is nothing standard in scalloped fretboards there is no one way of doing it.
There are a few slightly different methods of scalloping in production guitars:
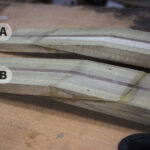
Fender Yngwie Malmsteen Signature
The Yngwie scallops are carved along the whole neck in a very even way. The dip has a uniform roundness along the width of the neck and is just as round in the back and front of each fret. Obviously, this is how Yngwie prefers it for both chords and soloing.
Fender Richie Blackmore Signature
The Blackmore version has a slightly different approach. Each scallop is deeper in the lower part, closer to the neck, tapering towards the headstock side in a kind of a half teardrop shape. The logic is that you will naturally press the string closer to the fret for better intonation. The scallops are also graduated in a way they don’t all run across the whole width of the neck. The lower E side of the fretboard is not scalloped on the first 10 frets and then gradually scallops all the way through.Steve Vai Signature GEM
has only frets 20-24 scalloped. Steve’s playing style leaves no frets untouched and really bends the high notes. Apparently, the jumbo frets are high enough for most of the neck but he wanted that little extra depth for smoother and deeper bends in the highest notes.
How would you scallop a fretboard?
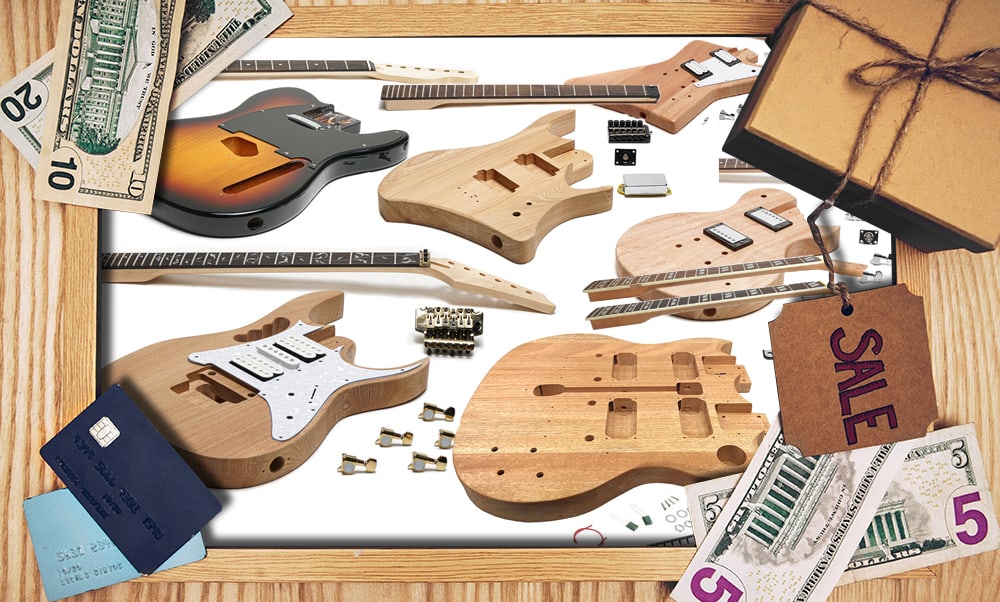
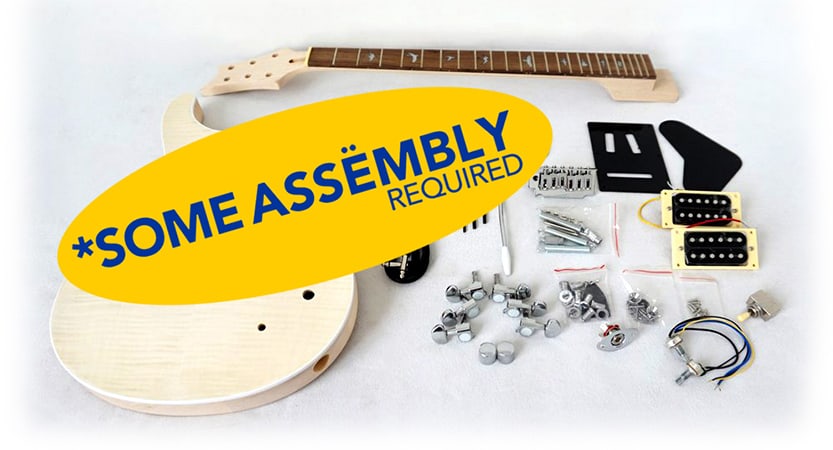
Scalloping a fretboard is not too difficult, although I can totally understand who is reluctant to get too close to his guitar with a sharp file or rasp. However, if you are building the guitar yourself and may have even carved and freted the neck itself, this will not be that challenging of a task. If you have decided on a scalloped neck and you are the one building it’ you should also consider carving the scallops before fretting. It will save you the hassle of protecting the frets or worrying about scratching them.
If you are not comfortable with woodworking, I would also advise practicing on scrap wood and maybe even some cheap old guitar before modifying your favorite.
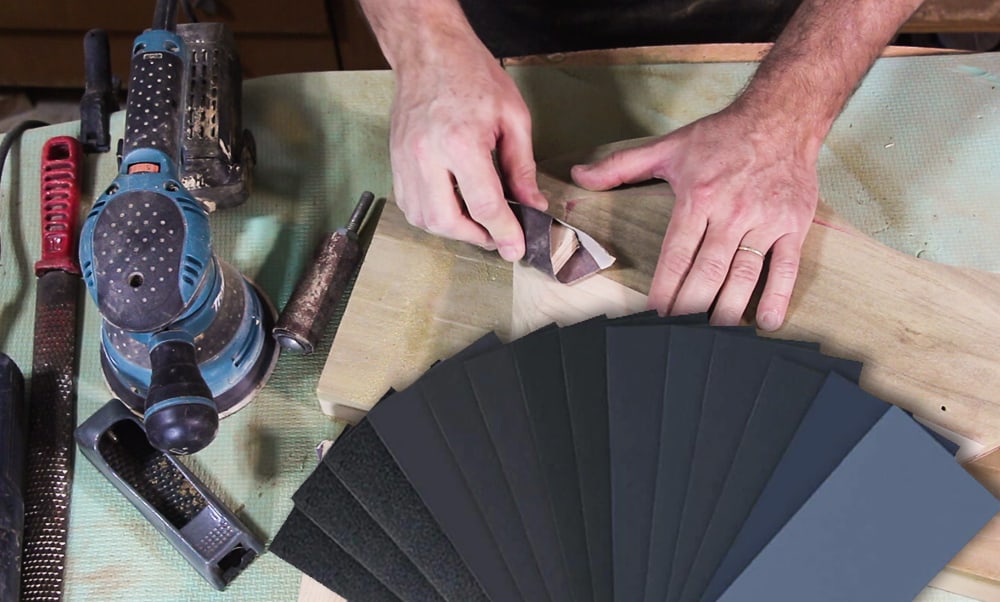
Tools for scalloping
The obvious tool would be a round or half round file or rasp. You need one which will be small enough in radius to fit with the smaller space of the highest frets. The coarseness will need to match the type of wood you have for a fingerboard. A very rough file may tear a Maple fretboard but will speed up your work with Rosewood or Wenge.You may also want a couple of different types of roughness for the files before moving to sandpaper.
You will also be able to use sandpaper wrapped on anything with the appropriate radius. Start with a 40 or 60 grit paper, and after the initial shaping work up to 100, 240 and 400.
The obvious tool would be a round or half round file or rasp. You need one which will be small enough in radius to fit with the smaller space of the highest frets. The coarseness will need to match the type of wood you have for a fingerboard. A very rough file may tear a Maple fretboard but will speed up your work with Rosewood or Wenge. You may also want a couple of different types of roughness for the files before moving to sandpaper.
You will also be able to use sandpaper wrapped on anything with the appropriate radius. Start with a 40 or 60 grit paper, and after the initial shaping work up to 100, 240 and 400.
If you are a bit more comfortable with tools, you can wrap the sandpaper on a drill and use it as a rotating sander. This method will probably be the quickest but will require a steady hand to avoid accidentally rolling over and scratching the frets.
Regardless if you have used a file or sandpaper on a round rod, you will want to smooth it up to at least 400 or 600 grit paper, depending on the finish you are planing for it.

How deep should you carve?
There is no need to carve the fretboard down to the neck itself. All you really need is a millimeter or two of depth to not touch the fretboard when playing. If you have tall or jumbo frets you may even need less. A good rule of thumb will usually be the side dots on the fretboard, you should probably not reach them. You should definitely not reach the bottom side of the fretboard.
Watch out for the inlays.
If your neck has mother of pearl inlays, you should take into account, they may only be 1 millimeter thick, or less. You may easily scrape them away or break them. There is no simple solution for this. If you are building the neck yourself, you can just put the inlays after scalloping or use the standard dots which will usually have thicker application and will withstand the filing.
How to finish after scalloping?
There are different types of fretboard finishes, depending on the type of wood, the style of the guitar and personal preferences. Mind you, you are not going to be touching the fretboard as much once it is scalloped. If you were modifying an existing neck, you probably want to mimic the existing finish. If you are going with a maple neck in a full Yngwie replica, you will need a glossy Nitrocellulose Lacquer or something similar. Most darker fretboards will either be slightly oiled or left untreated. Wood such as Ebony, Rosewood or Wenge have their own natural oil and don’t really require much more if anything. For any other guitar, you can check what the manufacturer used or just use you preferred finish. The same goes, of course, to any fretboard you are building yourself.
Tips for scalloping a fretboard
Don’t ‘wing it’. Plant the style, shape and number of frets you want to scallop.
- Test your tools, test different grits and test your technique on a scrap piece of wood, preferably of similar type to your fretboard.
- You probably don’t need to carve too deep to achieve the desired effect. Do a partial scallop, string it up and give it a try. At some point ‘more’ is not better.
- Don’t try and rush it. There is no ‘undo’ option for filing, so take your time. A full fret scallop will take a while so if you get impatient, take a break and come back to it later.
- If you are building a neck from scratch, use Jumbo frets and make the scalloping easier and minimal.
- A player with ‘beefy’ fingers will require deeper scallops to make up for the depth the finger will reach beyond the string
- Make sure your neck is firmly held with clamps, a vice or any means you have to avoid it from moving while filing
- Match your tools to the type of wood and it’s hardness

Are Scalloped Necks right for me?
By now you should already understand that there is no right and wrong answer here and if this concept is at all appealing to you, the only real way to know is to try it. Hearing people who have tried it there is usually an adjustment period before you can really enjoy the benefits of the scalloped fretboard. If you play with a feathery touch, that period may be very short and it may be very intuitive. Softer playing will also lend itself to faster playing as you are not pressing as far and not using as much force. If you are still developing your technique (and who isn’t?) you just might find the scalloped neck forcing you to lighten you playing and eventually improve speed as well.