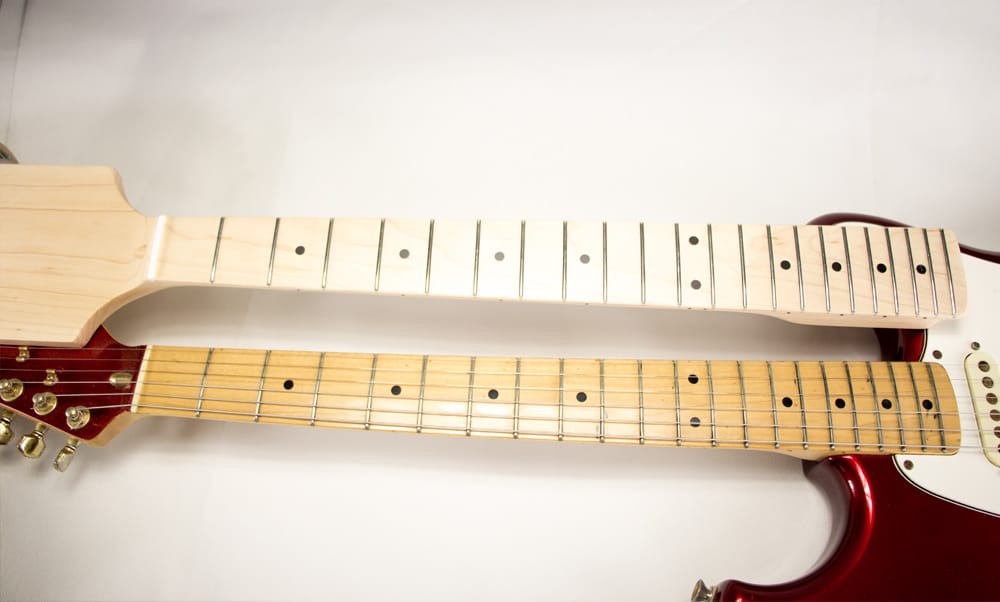
Guitars, and electric guitars in particular are curved across the width of the neck. The logic behind it follows the natural curvature of the palm and gives a more intuitive grip to the neck. That curve is measured as and referred to as radius. Different guitars have different radii and different radii have different properties and feel. While most guitars have a consistent radius along the fretboard/ neck some have what is called a compound radius.
What is a compound radius neck?
A compound radius neck is a neck that has one radius at the nut and a different, larger radius at the heel of the neck. This is meant to give a better playing experience for both rhythm playing towards the nut side of the fretboard, and soloing towards the heel side. The change in radius is gradual and will usually be something like a 10” radius at the nut and 16” at the 22nd fret.
We will take a look at the pros and cons of different radii, understand the terminology, and see how we can create our own compound fretboards. If you are familiar with the theory of compound fretboards, you may want to skip down to the more practical side of things.
Terminology
Fretboard Radius
The radius of any given fretboard is measured as if the top part is a small portion of a larger circle. The radius is the one that fits the correct imaginary circle.
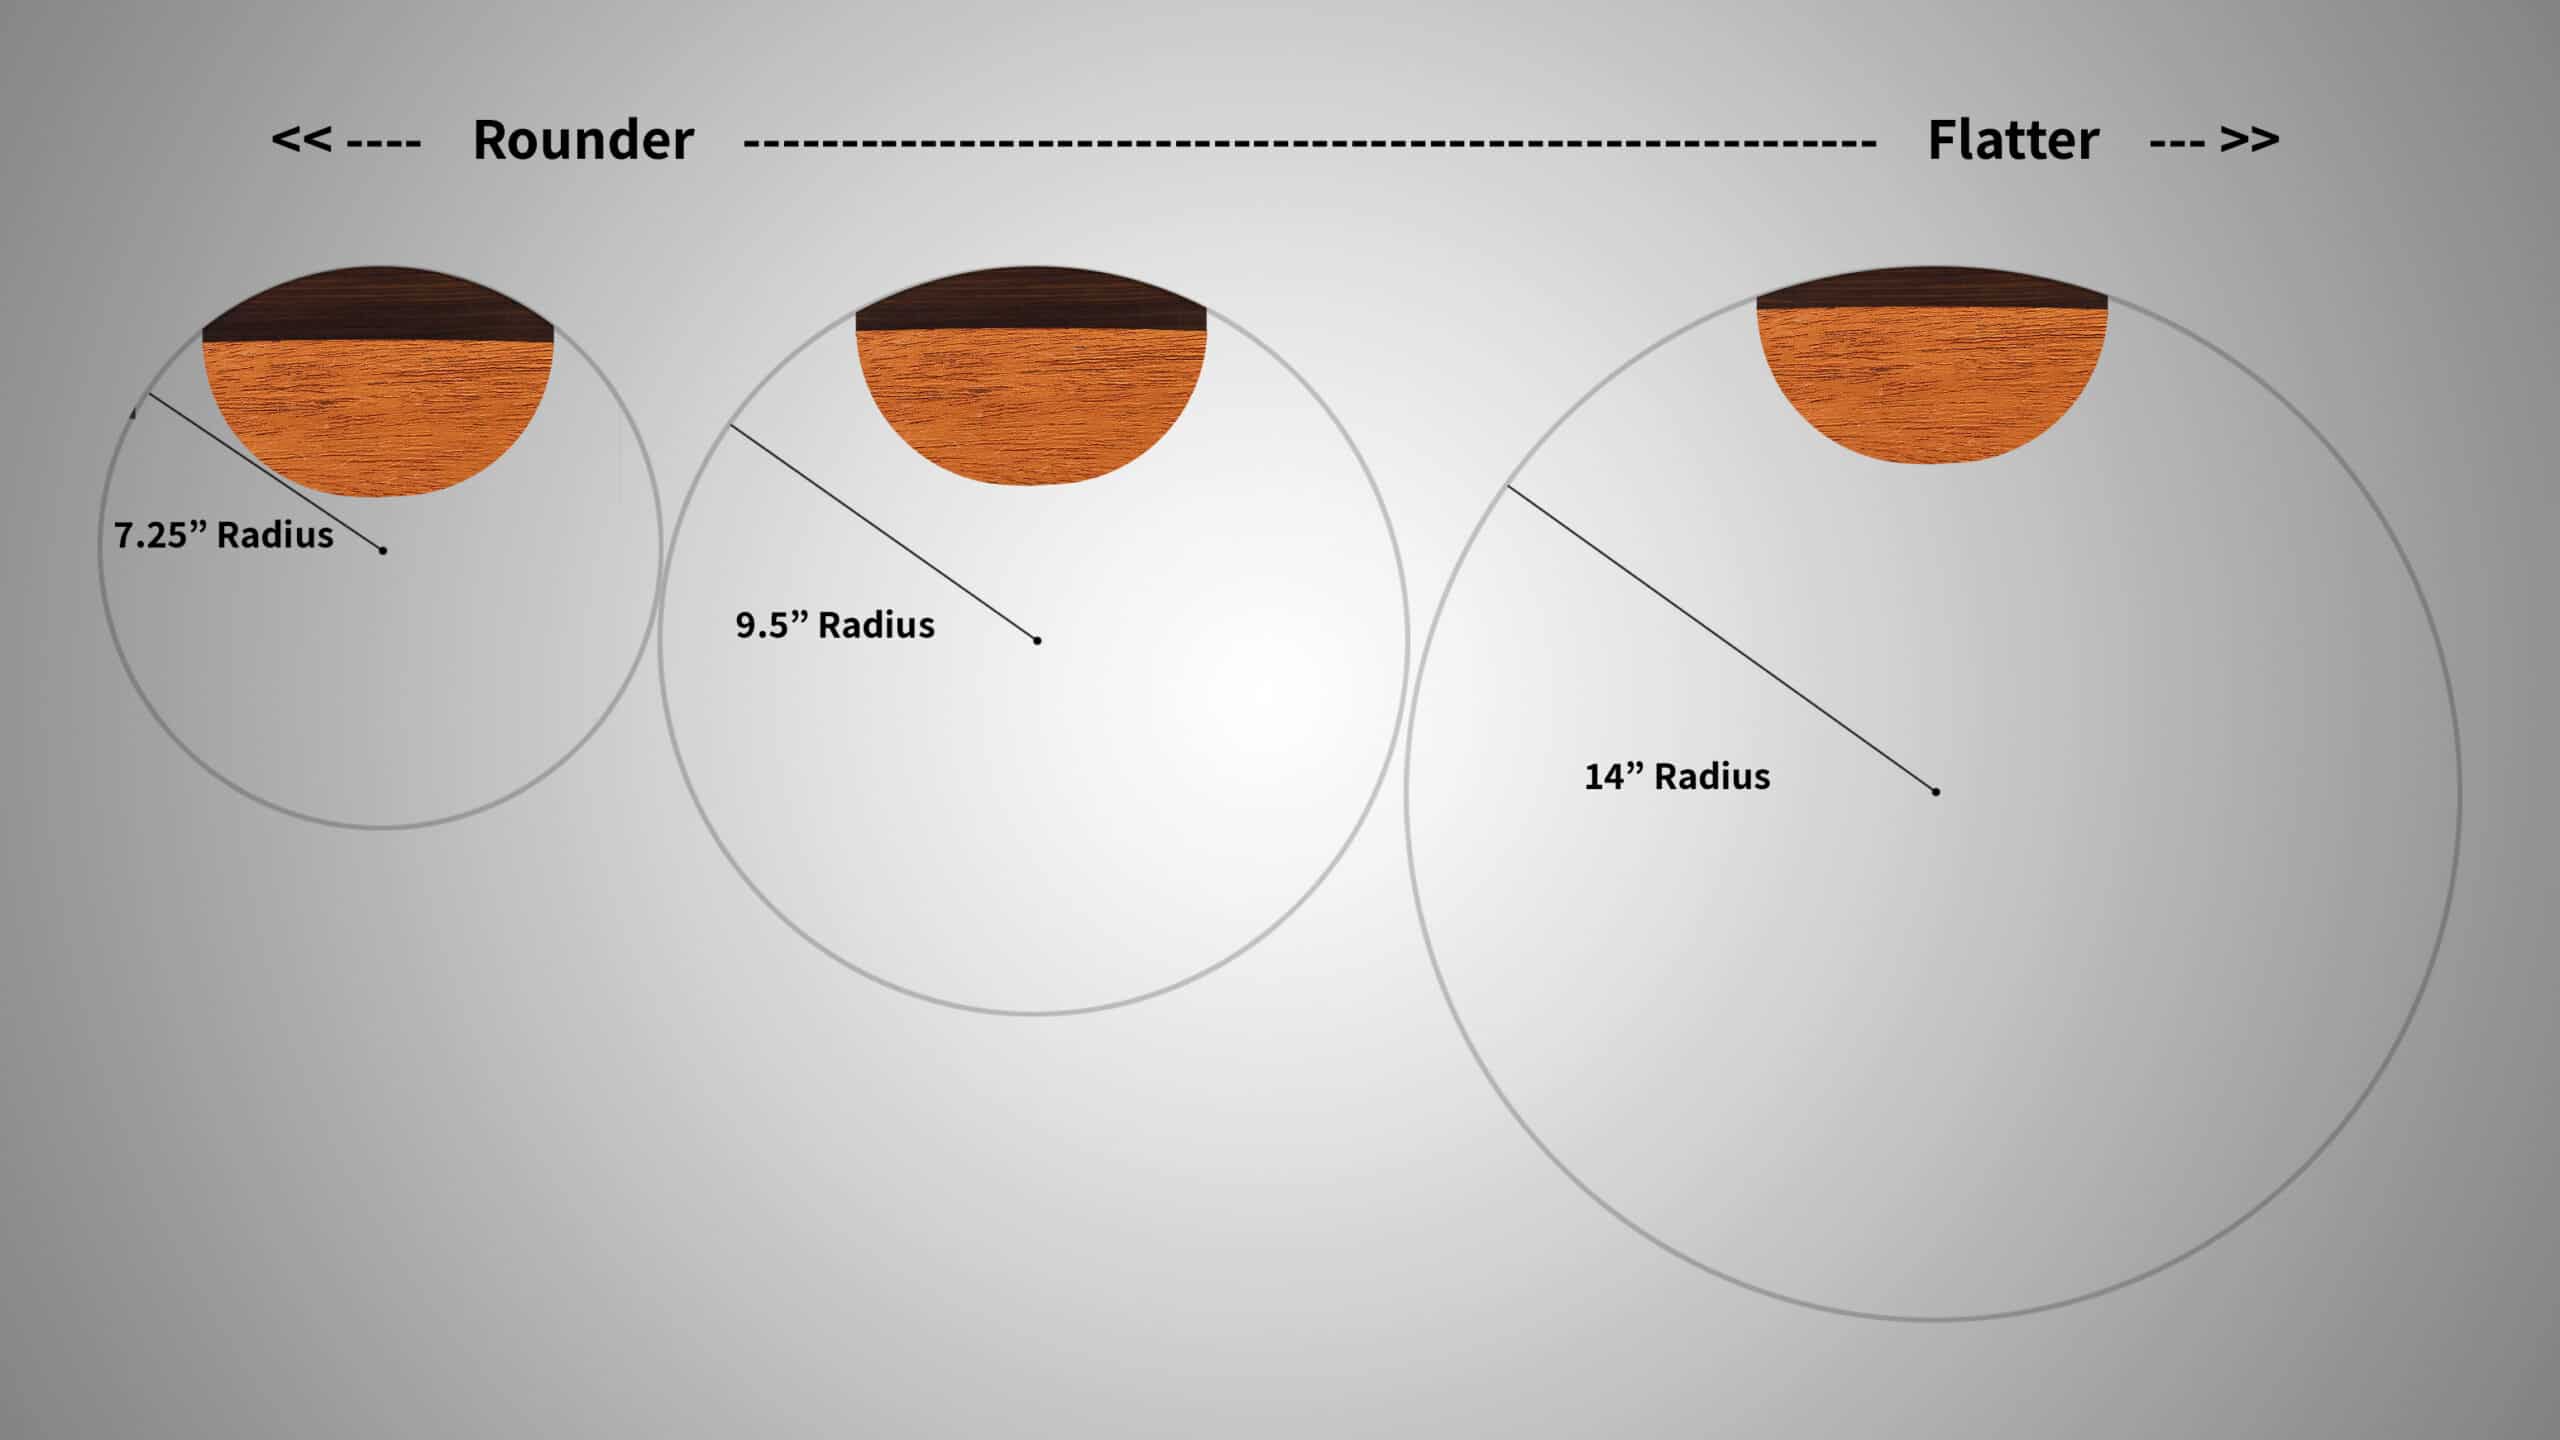
The ‘Flat Radius’ or ‘Constant Radius’
This is the standard fretboard radius. Whichever radius is chosen for the particular guitar is consistently kept along the length of the fretboard to give smooth and consistent curvature.Compound Radius
More correctly called Conical Radius or Variable Radius Fretboards. These are necks which will start at one, rounder radius and will smoothly change and grow to a flatter one, the closer you get to the heel of the neck.Radii or Radiuses
This is more of a semantical issue, but actually both are grammatically correct. Personally, I prefer ‘Radii’.What types of radii are there?
Round, Tight Radii
The lower radius guitars are usually vintage guitars or vintage guitars and are considered more comfortable for playing chords and rhythm. These are considered radii from 7.25” up to 10” or maybe 12”. The curvature lends itself for barred chords. On the down side, if you play with extreme bends, you may get buzzing due to the curvature.Flat radii
Guitars with a radius of more than 12” are considered on the flat side. These will make fast playing a bit more comfortable and are known to be favored by shredders. There is no real downside to a flatter radius other than holding clean chords may be aa bit harder.Where can I find these different radii?
- Some guitar manufacturers and styles are synonymous with certain radii, while some are more flexible and accommodating. I’ll start with the tightest ones and work up to the flat ones:
- 7.25” radius is almost exclusive to vintage Fenders. Pretty much all Fender guitars up to the 80’s had this round fretboard. It is still available today but is mostly used on custom builds or vintage models.
- 9/5” is todays ‘modern’ Fender radius. It is standard on all (except 7.25” vintage models) fenders.
- 10”-11.5” Common on PRS guitars
- 12” radius has been used consistently by Gibson from the late 50’s till today.
- 12”-17” Have been used with several manufactures along the years. Notable are Ibanez which have been catering to the metal community with flatter and flatter radii, such as their signature Steve Vai JEM with 16.9” radius.
- Classic and Spanish guitars have a flat fingerboard

Which radius or radii is right for me?
At the end of the day it is often a matter of personal preference and habits. Maybe Jimmy Hendrix could have played faster if he had a 16” radius guitar. Yngwie Malmsteen Is one of the fastest guitarists out there and he still chose the ‘sluggish’ Fender Stratocaster with a 9/5” radius, as his signature guitar.
There is much more to choosing a guitar or even a neck than the radius, but if you had to choose, you will probably want to fit your (or the one you are building the guitar for) playing style with a radius to better serve it. If you are building it yourself you can create any type of radius on any style of guitar regardless of what manufacturers make. You can make a vintage style Telecaster with a 16” radius fretboard. You can even take it a step further and buy or build a compound radius fretboard.
Are there any guitars manufactured with a compound radius?
Most of the larger manufacturers don’t make compound radius necks on any of their standard guitars. It probably complicates production and will not give any benefits unless properly set up. In fact it may actually feel odd and do a de-service to both the guitar and the brand.
Fender currently has two models in their American Deluxe Stratocaster lineup of replacement necks with a 9.5”-14” compound neck.
Gibson had fiddled with it on a few models in the 90’s and there are some models floating around. I found mentions of Signature models for Pat Martino, Jimmy Page and Paul Jack Jr. as well as 2016 Les Paul Standard. It is unclear what radii they used and if the bridge was adjusted accordingly (more on bridge issues later).
Jackson are probably the largest manufacturer to incorporate compound necks of 12”-16” on their very wide selection of guitars including multi -scale guitars and bass guitars.
Halo Guitars offer a compound radius as a customization option.
Schwung (Pronounced Shvoong) , a Dutch guitar manufacturer, offers a range of compound fingerboard options from 8” to 13”.
Anderson guitars make 12”-14” compound radius on all their models
EVH guitars come with a compound 12”-16” neck on all models
Larrivee, The French guitar makers have a 9.5”-14” on their Tele style guitar.
Thorn Guitars had the Junior Ninty limited edition models with a 10”-14” compound neck.
USA Custom Guitars offer a wide variety of compound necks starting from 7.5” to 16” with different combinations
What is Warmoth radius?
Warmoth, known for quality replacement guitar parts are said to have pioneered the compound radius in the 80’s using a 10” radius at the nut and 16” at the 22nd fret.
They also offer a 9.5” to 14” version and a 12” to 16” flatter one.

The Tube Vs Conical geometrical model
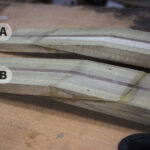
These are two models used to better illustrate the difference between the standard neck with a constant radius to a compound (Conical one). If we create a 12” tube and cut a strip of about 2” or 5cm, we will get something very similar to a standard Gibson neck. But if we take a cone that has a 7.5” radius at one end and 16” at the other, and cut the same width of strip from it, we will actually get what is similar to a 7.5” to 16” compound neck
A secondary benefit of compound fretboards
I call this:” The mathematical benefit of a compound radius fretboard”. The last model will also help illustrate why the standard neck we all know and love, is mathematically inaccurate. Think of it’ if we are using the same radius at the nut and the bridge (or the heel of the neck), as the tube model does, in order to maintain the exact same distance of the strings from the fretboard, you would need to have them exactly parallel. But since the neck width changes from nut to bridge, the strings are slightly ‘flared’ and in fact are not exactly parallel to the fretboard, even with a flat neck, before any action or relief are considered. This little discrepancy will usually not be felt or noticed by the player as it is so small it will get lost between the nut, bridge and truss rod adjustments. However, if you want to be mathematically correct there needs to be a proportional change in radius with the widening of the neck and the increase of space between the strings.
What is the actual difference?
I cannot argue with anyone who says he can feel a difference between a compound radiused neck and a regular one, it is very subjective and, as with many other parts of the guitar, hard to prove or compare. You would need the exact same guitar with the same setup with the fretboard being the only different parameter. The fact is, some players do prefer it, you may be one of them or you may just want to build one for the fun of it. I do believe that a guitar needs to cater to the guitarist’s whims and not the other way.
When we come to measuring the difference in actual numbers, or visually, we can see that it is a very subtle number and without going into the math we are talking about fractions of something (this one works in both imperial and metric). Naturally the bigger the margin the more it will be felt. If you are doing a 10”-12” compound, it is arguably marginal, but a 10”-16 will be more substantial

Skip the math, copy the dimensions
I am not going to get into the math myself and unless you enjoy this type of thing, you can skip it too. The compound radius which will give you the ideal proportions to maintain a constant straight line with the same distance from the string to the fretboard are: 7.25”- 10”, 9/5”- 12.5”, 10”-13” and 12”-16”
(If you want to understand the math better, I took these numbers from Auburn Amplifiers )
Building a Compound Radius Neck
Most custom shops offering compound radius fretboards will either have some type of routing/ sanding template or (the easier choice) will use a CNC machine. The math is easy enough to figure out but the execution may be a bit complicated. If you want to build a compound radius fretboard yourself, there are a few issues you will need to take into account.
Using a fretboard block
The standard way of using a block will not work here. If you are going for a 10”-16” radius (for example) you can follow the next steps to get the correct result:
We will start by creating a regular fretboard and then adjusting it. Use a 16” block to get an even consistent radius, just as if it was a regular fretboard radius. (You can also go the other way and sand the whole fretboard to 10” radius first and then adjust the other side. I’ll use the 16” for the example)
If your fretboard is squared you can clamp (or create a jig) of two parallel straight borders to act as guides for the block. Another choice is to put your index finger in the middle of the block to keep your hand visually centered (see image)
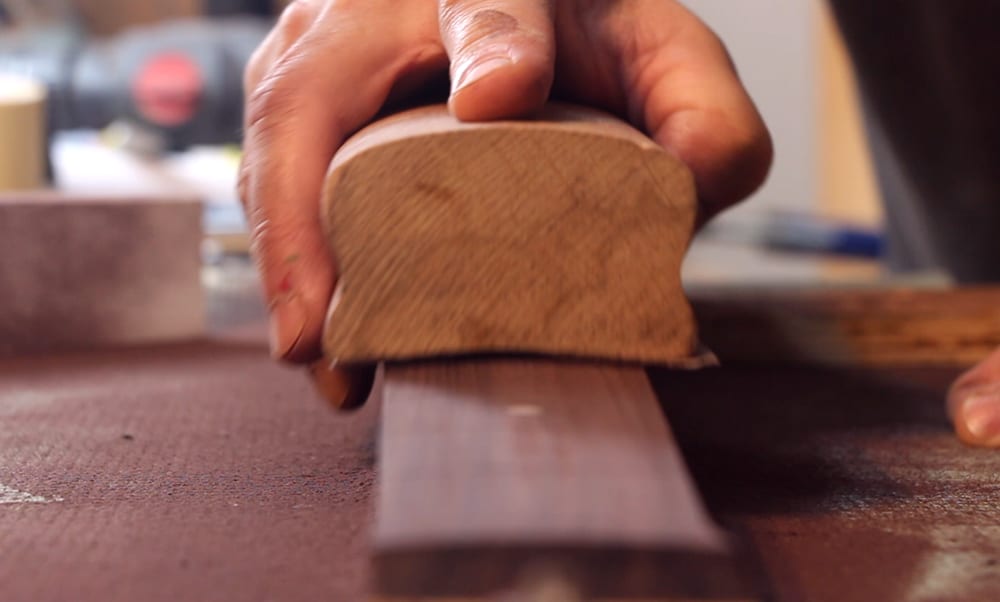
You now want to sand gradually along the fretboard, taking off as much as you need at the nut end, and removing nothing at the heel side which is already radiused to 16”. You will actually be removing materials from the two sided and nothing (at the nut side) in the middle.
Put masking tape at the heel end to cover and protect your last slot. This will prevent accidentally sanding this end more.

Use a Leveling Beam for the adjustment
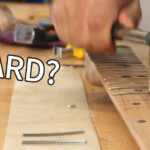
Use a Leveling Beam with low grit sanding paper. Depending how tough the fretboard is, you may want to go as low as 60 or 80 grit. Apply light pressure only from the middle of the fretboard and work parallel to the string position. This is important and will make all the difference: the sanding motion should only be completely parallel to the fretboard center in the center line and should follow the slightly widening line of the strings.
- This is the tricky part. Use the Radius gauge and a straight edge simultaneously to achieve the 10” radius at the nut and a straight line from the nut to the last fret at the position of each string. You are going to be doing a lot of back and forth between sanding and checking those two.
- When you get closer and don’t want to remove too much material, you may want to switch to finer and finer sandpaper. 120, 240 and/or 320
- Depending on the scale length your fretboard is you may want to divide it into thirds (mark it on the sides so you don’t sand the markings) and using the Radius Gauge also check where the 12” and 14” radius.
- Try to avoid localized sanding and use a long leveling beam to avoid bumps or worst dips, along the fretboard
- When you have a straight even line at the position of each string and you have reached a 10” at the nut, you can take the masking tape off the last fret, switch to a 400-grit paper and give it a final round of fine sanding. After that you may just want to give it a quick manual run with a 600 paper.
- The same principles will apply when you are leveling the frets. Only level running along the lines of the strings and not parallel to the center line.
Tools:
These are all tools you should have if doing any fretboard or fretting work. They are not too expensive, and there are thrifty alternatives to some of them as well.
A sanding block
A sanding block of at least one of your preferred radii. You can go for the aluminum ones which are great and will last you a lifetime, or the cheaper wood ones, which are just fine. Unless you are planning on just one radius, you will need more than one.
A leveling beam.
Go for the 18” if you can. This is essentially a very straight aluminum profile. The shorter ones are useful for more localized work when leveling the frets, but the longer ones come handy for leveling various parts in the building process. It helps to have more than one, and depending on the profile you can have two or four different grits to be able to switch without having to remove and re-glue every time. I got a few leftover pieces from a friend who works with aluminum windows and checked them with a straight edge.
Sandpaper
Get sandpaper of varying grits. Start at low grit to remove the bulk of the material. If you start with a 400-grit paper, it will take you days and a lot of sandpaper to remove enough material from rosewood, maybe even more for harder woods like Wange. Regardless of the fretboard, sanding is an integral part of the guitar building.
Masking tape, CA glue or Double-sided Tape
If you are not using adhesive sandpaper, you will need either double sided tape or masking tape and superglue. Put masking tape on the bottom of the sanding block or leveling beam and on the back of the sanding paper. Then glue masking tape to masking tape with super glue or any other CA (Cyanoacrylate) adhesive. Press it manually. If you have an accelerator spray the drying is pretty much instantaneous but even without it a minute is more than you need. This method is also strong anough for working with templates and routing and the main benefit of it is the ease of detaching the two parts when done. It’s like masking tape. Just don’t drown it with super glue.
A straight edge.
You cannot ‘eyeball’ this one, it’s the key to manually getting this fretboard right. A proper straight edge is not cheap, but well worth it. There are alternatives. I use a scrap piece of aluminum that I verified IS very straight. Any machined piece of metal would do the job, but do make sure it is perfectly straight, this will become a reference for many parts of the guitar.
Radius gauges
These can be any type, the ‘T’ ,the square ones or the ones with the notches (if you already have strings on) . They will be handy when building any fretboard and also when setting up the guitar when it’s done.Pre- bending the frets
Many Luthiers prefer ‘over-bending’ the frets a little before installation. So if you are building a 12” fretboard, you will bend the frets a little tighter to something like a 10” radius. This way when pressing or hammering the fret into the slot, it will be easier to avoid the tips popping out. Use the same logic for a compound fretboard. You may want to bend them in separate groups to not get too big a difference.
Using a fret press
This is where it may get complicated. If using a press, you are limited to the increments that the cauls’ inserts come in, which are usually 6, 7.25, 9.5, 10, 12, 14, 15, 16, 20 and flat. With a 10”-16” compound neck (for example), you may be able to use the 10” for the first and 16” for the last. You may even be able to find three more frets to use the 12”, 14” and 16” with, but you will still have around seventeen frets you will need to manually hammer in. Creating inserts to match all those requires precision machinery and know-how, I have yet to possess. So if you do have a fret press, this is not going to be a place for it to shine.
Leveling a compound fretboard
As mentioned before, leveling a compound fretboard is different from a single radius fretboard just like the radiusing itself. The motion should still be along the length of the neck, not sideways, but instead of following lines that are parallel to the neck center-line you should level along the lines of the strings which are slightly wider at the heel and compared to the nut.
Taking the nut into account
Just a quick word if you are planning to use a Floyd Rose bridge, or any equivalent that uses a locking nut. Floyd Rose nuts are typically built for a 10” radius. There are alternatives and adjustments can be made, but it is definitely something to take into account.
Don’t forget the bridge
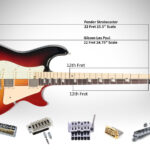
Make sure your bridge and its setup are right for your compound neck. In a standard 10” neck, the nut, the frets and the bridge should all be 10”. In a 10”-16” compound neck the strings get flatter and flatter the closer you get to the bridge. If the neck is around 14”at the 12th fret, it will be close 18” at the bridge. You need to make sure you can, and will, adjust the bridge saddles height to take advantage of the compound radius, otherwise you will have uneven action from string to string, and instead of having an improved fretboard it will hinder your playing. If you have a Gibson Tune-o-Matic bridge which typically comes at 12” radius and has no saddle height adjustment, you will need some serious filing and slotting to get it right.
Conclusion- Is it worth it?
As a guitar builder or aspiring Luthier, it is definitely a challenge you will learn a lot from. Getting your first compound neck right is not a given. From a guitarist point of view, it’s very subjective and personal. You also have to take into account many other factors and most of all, proper action and setup. After all we are talking about the feel and the playability of the guitar. A minor change in the setup may have a larger effect on how the guitar feels, than a compound radius.

