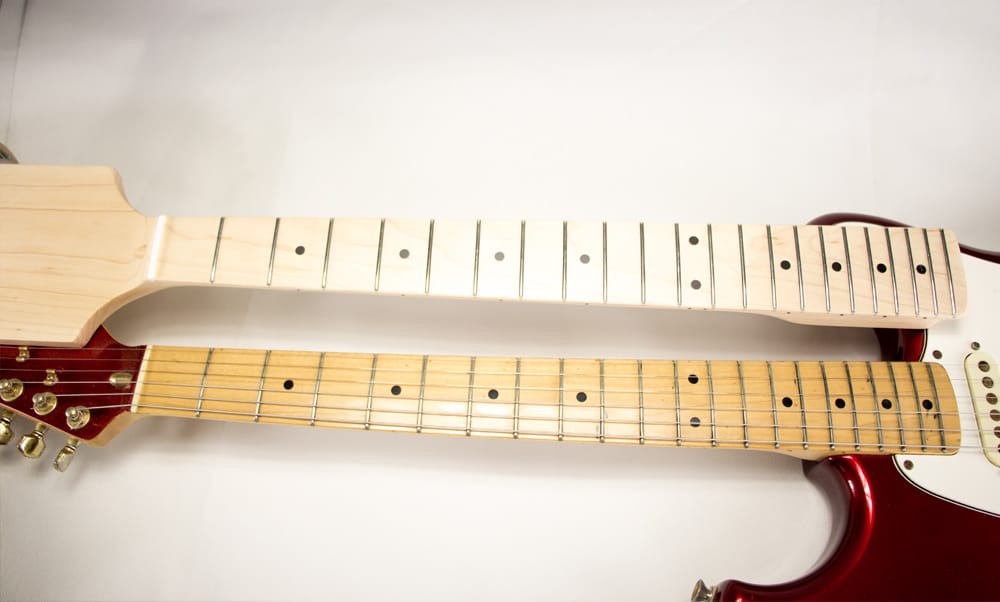


When building your own guitar finding and deciding on the right piece of lumber can be hard. On the other hand, since this is your creation, you can take the liberty and , well, be creative. One of the options before you are Multi Laminated Necks. Is there a real benefit to laminated necks? How difficult are they to build?
Building a guitar with a Multi laminated neck is no different than a regular neck other than the Neck Blank itself, and simpler in some cases. The benefit is both visual and structural. A well-made Multi Laminated Neck will be beautiful but also stronger and more stable than a regular neck.
We’ll dive into the ins and outs of making a Multi Laminated Neck. There a few things to consider and understand in order to go this fairly simple process, but do it right. There is affair chance that if you slap a few pieces of wood together and carve them into a shape of a neck you will get a decent guitar neck, but then again you might be missing something that was probably easy to avoid.
The advantages of a Multi Laminated Neck
There are a few distinct advantages to a multi laminated neck on a guitar:
Some would say that the beauty of it is the most significant one and it certainly is visually apparent. Being someone who loves the look of wood and natural looking guitars, I can hardly deny that, but beauty is in the eye of the beholder.
Structure wise, a laminated neck has the potential to be much stronger and warp resistant compared to a single piece of timber. Much like a one-piece tabletop would tend to deform much more than a butcher’s block. The wood grain and fibers of separate pieces run in slightly different direction and will re-enforce each other.
The added value of this strength is the ability to build an angled headstock without the need for a scarf joint. Gibson lovers, rejoice.
You may also be able pieces of wood which would have been to thin for a neck (or body) by themselves but will make a great addition to the laminated one.
Any Disadvantages?
Other than the extra work of creating the neck blank, practically non. If you want to really nitpick, the overall view regarding tone and sustain is that the glue used in guitar construction acts as a damper and soaks up vibrations. Just to even out the argument, there are also opinions that the added rigidity gained from the lamination will actually help the tone and sustain. Considering the many other factors that go into this I think it will be hard to test and may be very subjective as well.

Choosing wood to Laminate
As a rule of thumb, you will probably only want to use the types of wood that you would have used for a standard neck so there will not be a ‘weak link’ within the neck. Personally, I have a lot of plans to test out more exotic and interesting types of wood and stray a little from our standard Maple, Mahogany standards, but I will definitely stick to hard woods.
Can I use any part of the wood?
In the same sentiment as the types of wood you use, you will want the stronger parts of the timber i.e. quarter- Sawn timber. The difference between quarter sawn and flat sawn (or ‘slab’) is that quarter sawn timber will have the ring lines running almost parallel to each other so when it is exposed to changes in humidity it will not deform as much as ‘flat sawn’ timber that has those line arced in its profile. Just look at the profile of the wood. With a Multi laminated neck you can probably get away with not perfectly ‘quarter sawn’ timber if aligned correctly.
Needless to mention (I will, just in-case) the grain of all the pieces you use has to be length-wise just like if using a single piece.
Does the order of the strips matter?
Actually yes, it matters plenty. Symmetry is important for the structure and integrity of the neck. You should be using the same woods on either side of the neck’s centerline. Not only should it be the same wood, you should cut them from the same piece of timber and glue the as bookends, facing each other. This way even if they are not perfectly quarter sawn and want to deform, they will ‘cancel’ each other’s deformation and actually add to the strength of the neck.
Does the thickness of the layers matter?
Not really. Other than tonal concerns it may actually make the neck stronger with more and thinner laminates. Martin Guitars have a line of laminated neck with about 2mm layers (1/16”) and about twenty or more of them. It practically looks like plywood, but that is some high-quality plywood.
Even or Uneven number of stripes?
The uneven number will give a nice look with a centerline which may be reminiscent of the old ‘Skunk Stripe’ of Fenders, but from a purely structural point of view an even number of identical pieces with opposing directions should produce the strongest and most warp resistance neck.
Other considerations for the design
As far as design, you would probably want to layer types of wood with contrasting colors or maybe slip some thin strips of veneer between thicker pieces. There is really no right and wrong but if this is your first stab at a laminated neck
How to make a Multi Laminated Neck
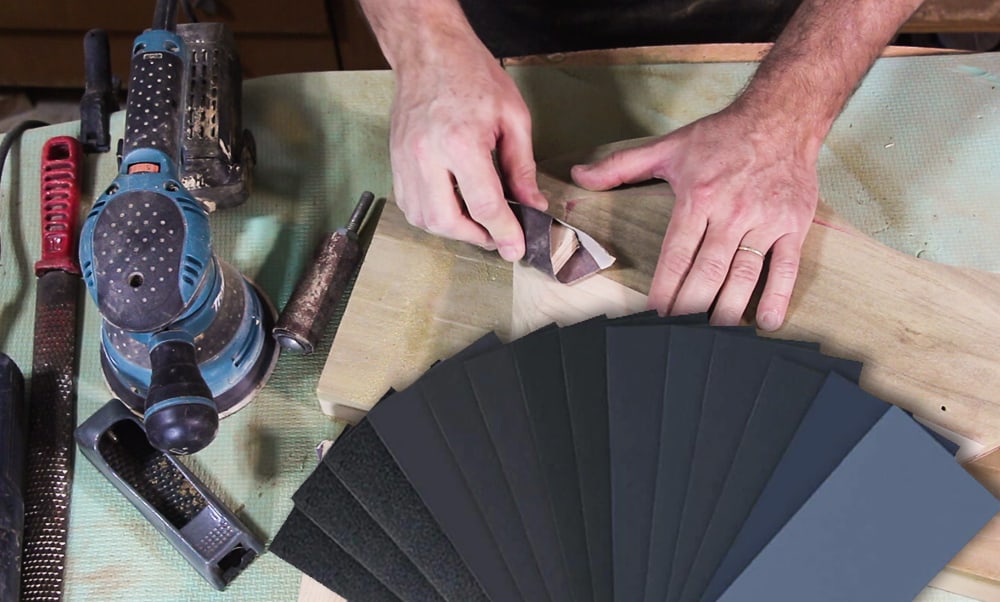
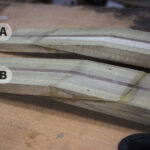
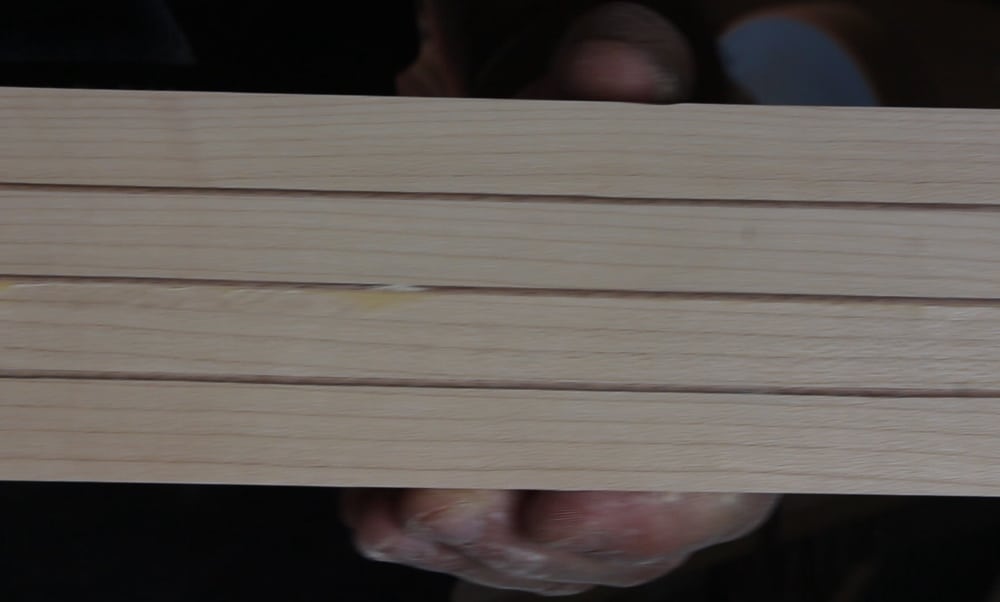
Now that we sorted things out as far as selection and considerations, we just need to select the pieces we want and plain the to be perfectly flat on all sides. Depending on the sharpness of your planer you may want to also sand them. Cut them to the correct length with enough to spare. If you are aiming for an angled headstock (without a scarf joint) you may have a 3”-5” (8-12cm) hight. If you are going for a flat fender style headstock you should require not more than 2” (5cm). Arrange your laminates in the order you want to glue them and make sure they are facing correctly to maintain the visual as well as the structural symmetry. Make sure you can manually hold them together without gaps. This is a good indication they are flat and smooth enough.
TIP: try to keep the whole neck, before and after gluing, with straight angles and flat faces. This will make life easier for when you get to routing, truss rod installation, shaping, gluing the fretboard and working on the headstock.
Gluing the laminates
If you’ve ever glued multiple layers of wood you know that they tend to slip and slide when pressure is applied. An easy preemptive action would be clamp them together and drill two holes, one at each end, (at an area that would later be cut off) and have a matching wooden peg (or a long screw) ready.
One by one cover each face with carpenter’s glue and set them up for clamping. Slip in that wooden peg or screw to avoid sideway motion and start clamping. Personally, I never clamp directly on the guitar part (even if some of it will be cut) and I add other pieces of scrap wood which also help spread and even the pressure. For a standard neck with headstock I will use no less than 6 clamps but you can hardly have too many, so if you have more, clamp away.
TIP: To avoid the neck sticking to your table or whatever it’s on spread some parchment paper (baking paper) under the neck and led it drip. It’s going to be difficult to wipe all the excess glue between the clamps.
It should be dry after 4-6 hours (check with the manufacturer of the glue you are using) but I always leave such gluing overnight. After you have removed the clamps and cleaned away the bigger chunks of dry glue just run it through a planer or plane manually to achieve a flat smooth top for the fretboard.
That’s it. You now have a Multi Laminated Neck Blank. From here Proceed to cut and shape to the desired style of neck of your choice.
Routing the neck for the truss rod would be easiest at this point, before shaping the neck.
If you have a template for the profile of the neck that would be the next step. For more on Templates and how to create and use them in : “Electric Guitar Templates – The complete guide”
To understand more about neck profiles and shapes see: “Guitar Neck Shapes – What’s The Difference?”